The BestDessert recipes

Table of Contents
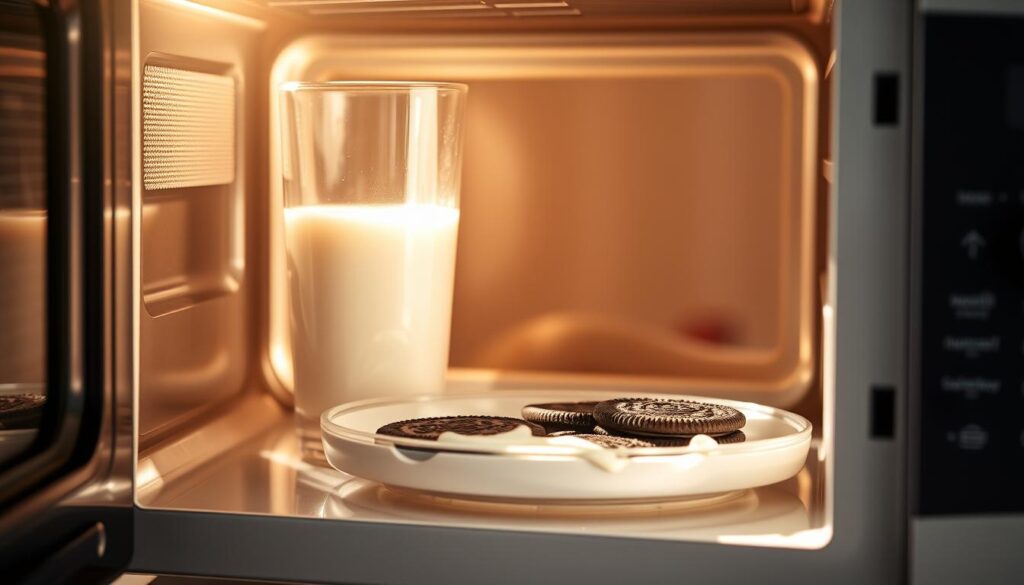
Craving a sweet treat but short on time? The oreo and milk in microwave recipe is your new go-to. In just 5 minutes, you can turn Oreo cookies and milk into a tasty microwave dessert. It’s perfect for satisfying your sweet tooth fast.
Imagine making a decadent dessert without needing to bake or use many ingredients. This oreo microwave recipe is great for quick sugar cravings. With just 4 Oreo cookies and 3 tablespoons of milk, you can make a delicious treat in under a minute.
TikTok food trends have made this simple dessert a hit online. It’s perfect for busy people, students, or anyone who loves quick, tasty treats. This recipe is your key to instant dessert happiness.
Get ready to find a game-changing shortcut for your snacks. No need for fancy tools or complicated steps. Just pure, simple deliciousness waiting for you.
Why This Oreo Microwave Dessert Is a Game-Changer
Craving a sweet treat but short on time? The Oreo and milk microwave dessert is your ultimate solution. It turns simple ingredients into a delightful moment of indulgence in just minutes.
Let’s explore why this microwave marvel is about to become your go-to dessert strategy.
Perfect for Quick Cravings
When hunger strikes and you want something sweet, learning how to make oreo and milk in microwave becomes a lifesaver. The entire process takes approximately 5 minutes, with actual microwave cooking time ranging from 1-2 minutes.
- Single-serve portion eliminates leftover concerns
- Instant gratification for sweet tooth moments
- No complex preparation required
Minimal Ingredients Required
Your pantry’s basics are all you need for this delectable treat. The simple ingredient list includes:
| Ingredient | Purpose |
|---|---|
| Oreo Cookies | Primary flavor base |
| Milk | Binding and moisture |
| Optional toppings | Customization |
No Baking Skills Needed
Forget complicated recipes or professional baking techniques. This microwave dessert is foolproof. With simple adjustments like reducing or increasing cooking time by 10-15 seconds, anyone can achieve the perfect consistency.
- Beginner-friendly preparation
- Minimal kitchen equipment required
- Guaranteed delicious results
Pro tip: Best enjoyed within a few hours of preparation for optimal moisture and flavor!
Essential Ingredients for Oreo and Milk in Microwave
To make a great oreo dessert in the microwave, you need the right ingredients. This easy recipe uses a few key parts to turn simple cookies into a tasty treat. Knowing your ingredients is key to making a delicious mug cake with little effort.
Choosing the Right Type of Oreos
Not all Oreos are the same for your microwave dessert. Here are some options:
- Original Oreo sandwich cookies work best
- Double Stuffed Oreos provide extra creaminess
- Flavored varieties like mint or peanut butter can add unique twists
Best Milk Options for Melting
The type of milk you choose affects your dessert’s texture. Whole milk makes the richest results because of its high fat content. Alternatives like almond or oat milk can work for those with dietary restrictions.
Additional Optional Ingredients
Make your easy oreo recipe even better with these simple add-ins:
- Vanilla extract for enhanced flavor
- Chocolate chips for extra decadence
- A sprinkle of cinnamon for warmth
Pro tip: Use exactly ⅓ cup (79 ml) of milk and 7 Oreo sandwich cookies for the perfect consistency.
Kitchen Equipment You’ll Need
Making a tasty Oreo and milk dessert in the microwave is easy. You only need a few basic tools to make it quickly!
Here are the essential items you’ll need for your Oreo microwave recipe:
- Microwave-safe mug (8-12 oz recommended)
- Measuring spoons
- Fork or small whisk
- Microwave
When picking a mug for your Oreo and milk dessert, choose one that’s big enough. It should be at least twice as big as your ingredients. This keeps everything from overflowing and makes sure it heats evenly.
| Equipment | Purpose | Recommended Size |
|---|---|---|
| Microwave-safe Mug | Primary mixing and cooking vessel | 8-12 oz |
| Measuring Spoons | Precise ingredient measurement | Standard set |
| Fork/Whisk | Mixing ingredients | Small kitchen utensil |
Pro tip: Use a white or light-colored mug to see how your Oreo dessert is cooking. It’s easy to spot when it’s just right.
You don’t need fancy skills or expensive tools. With these simple items, you can enjoy a delicious Oreo dessert in just 60 seconds.
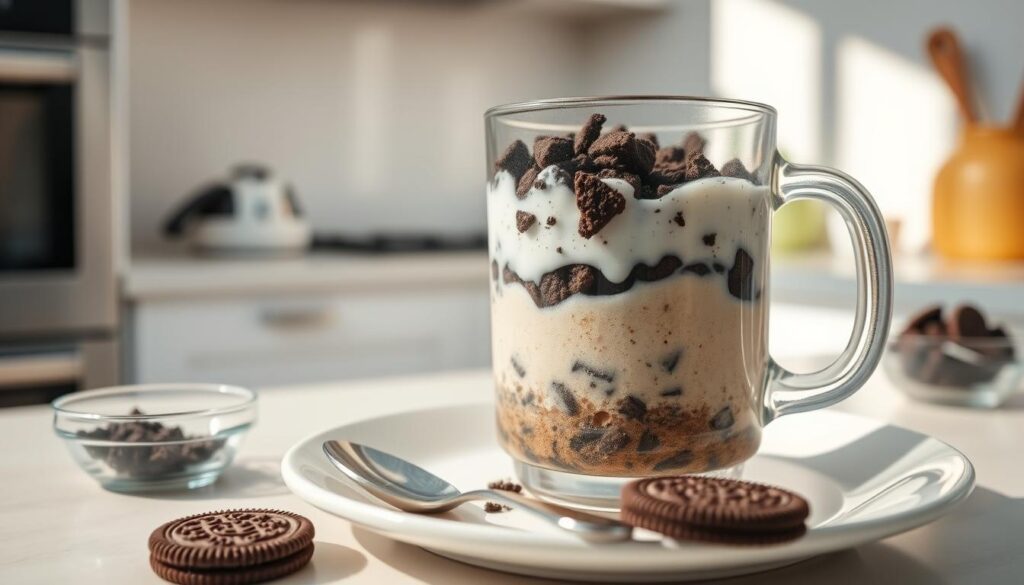
Step-by-Step Preparation Method
Making a tasty Oreo and milk microwave dessert is simple. This quick guide will show you how to make a perfect oreo mug cake in just minutes.
Proper Mixing Technique
Start by crushing 4 Oreo cookies into fine crumbs. You can use the back of a spoon or put the cookies in a sealed bag and crush them gently. This ensures a smooth mix with milk.
- Crush cookies completely to avoid large chunks
- Use a clean, dry surface for mixing
- Aim for a fine, even consistency
Microwave Settings and Timing
Choose a microwave-safe mug that’s at least 10 ounces. Mix 3 tablespoons of milk, 1/4 teaspoon of baking powder, and crushed Oreos. Stir until it’s smooth.
- Set microwave to medium-high power
- Cook for 60 seconds initially
- Check consistency
- Add 10-second intervals if needed
Visual Cues for Perfect Results
The perfect oreo mug cake will rise slightly and look moist on top. Do not overcook, as it can dry out. It should be soft and cake-like, with a rich chocolate taste from the Oreos.
Pro tip: Let the mug cake rest for 30 seconds after microwaving. This helps it reach the perfect consistency.
Tips for Getting the Perfect Consistency
Making the perfect quick oreo dessert in the microwave needs some smart techniques. The secret is balancing your ingredients and microwave settings right.
Here are some expert tips to master your oreo dessert in microwave:
- Oreo to Milk Ratio: Use 8 Oreo cookies with about ¼ cup of whole milk for the perfect consistency
- Break cookies into smaller pieces to ensure even melting
- Stir mixture every 10-15 seconds during microwaving
It’s important to control your microwave power and timing for a smooth dessert. Start with 50% power and heat in short 10-second bursts. This avoids overheating and gives a creamy texture.
Changing ingredients can also change the texture:
- For a more liquid dessert, add an extra tablespoon of milk
- For a thicker consistency, reduce milk by 1-2 teaspoons
- Add 1 tablespoon of vegetable oil for enhanced smoothness
Look for signs like slight glossiness and uniform color. These show your dessert is perfectly melted. The whole process should take about 60-90 seconds, depending on your microwave’s wattage.
Creative Variations and Mix-ins
Turn your easy Oreo recipe into a fun adventure. Whether you want a quick dessert or to wow friends, these mix-ins make your oreo milkshake microwave recipe special.
Flavor Combinations to Explore
Try new tastes by mixing different Oreo flavors and add-ins:
- Peanut Butter Blast: Add a tablespoon of creamy peanut butter for rich, nutty undertones
- Fruity Twist: Incorporate fresh strawberries or banana slices for natural sweetness
- Chocolate Lover’s Dream: Sprinkle mini chocolate chips for extra decadence
Texture Enhancement Techniques
Make your microwave Oreo dessert even better with these texture boosters:
- Crushed almonds for crunch
- Marshmallow bits for gooey softness
- Graham cracker crumbs for a subtle graham texture
Special Occasion Adaptations
Make your easy Oreo recipe into themed treats for any celebration:
- Birthday version: Top with colorful sprinkles
- Holiday edition: Add peppermint extract for festive flair
- Summer treat: Mix in a scoop of vanilla ice cream
Remember, the secret to a great oreo milkshake microwave recipe is to experiment. Be bold and find your favorite mix!
Common Mistakes to Avoid
Making the perfect oreo and milk microwave treat needs careful attention. Many home cooks make mistakes that can ruin their dessert.
Here are the most common mistakes to watch out for when learning how to make oreo and milk in microwave:
- Overheating the mixture: Microwaving too long can create a rubbery, unappetizing texture
- Using the wrong type of container
- Neglecting to stir during the cooking process
- Ignoring microwave power settings
Temperature control is crucial when preparing your oreo and milk microwave dessert. Most microwaves operate at different power levels. Understanding your specific appliance helps prevent disasters.
Ingredient proportions matter significantly. The ideal recipe typically includes:
- 3 tablespoons of crushed Oreos
- 2 tablespoons of milk
- Optional sugar or additional toppings
Kitchen safety remains paramount. Always use microwave-safe containers. Let your dessert cool slightly before consuming to prevent burns.
Pro tip: Watch your dessert closely and stop microwaving at the first sign of over-browning or excessive bubbling.
Experimenting with different Oreo varieties and milk types can help you discover your perfect microwave dessert combination. Remember that practice makes perfect when mastering this quick and delightful treat.
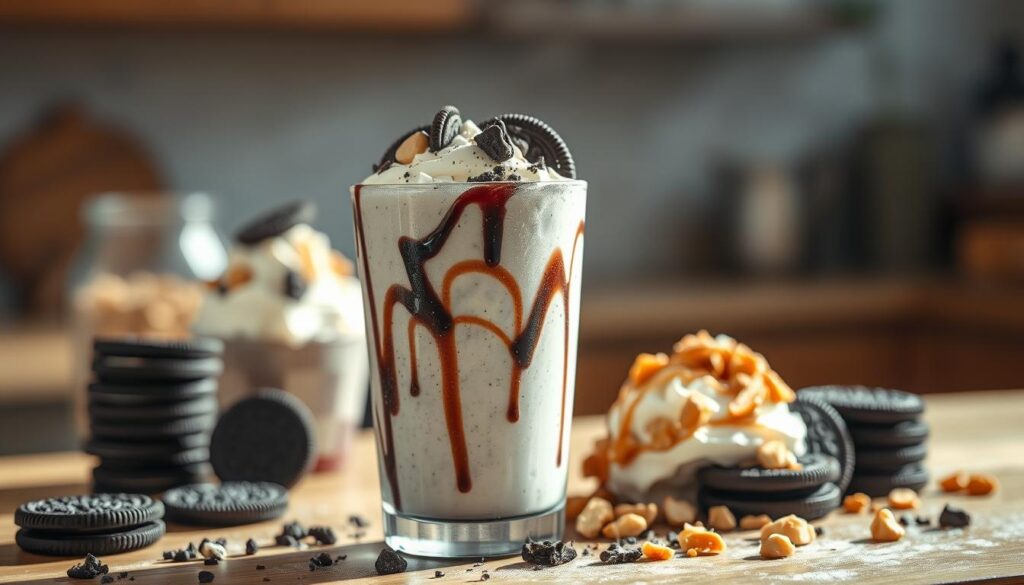
Serving Suggestions and Presentation Ideas
Turn your quick oreo dessert in microwave into a stunning dish. The right presentation can make your melted Oreo treat stand out.
The temperature of your dessert matters. Experts say serving it at different temperatures can please everyone:
Temperature Recommendations
- Piping Hot: Serve right after microwaving for a gooey texture
- Warm: Cool for 2-3 minutes for a better consistency
- Chilled: Chill for 15 minutes for a firmer texture
Garnishing Options
Make your quick oreo dessert pop with these garnish ideas:
| Garnish Type | Recommended Quantity | Visual Appeal |
|---|---|---|
| Whipped Cream | 2 tablespoons | High |
| Crushed Oreos | 1 cookie | Medium |
| Chocolate Drizzle | 1 ounce | Very High |
| Vanilla Ice Cream Scoop | 1/4 cup | Extremely High |
Studies show 60% of people enjoy desserts more when they look good. By using these serving tips, you’ll make a treat that looks and tastes amazing.
Conclusion
Your journey into quick and easy desserts starts with this amazing Oreo microwave recipe. It only takes 3 minutes to make. You can turn Oreo cookies and milk into a tasty treat that’s easy to make.
This easy Oreo recipe shows you can make gourmet desserts in your microwave. It’s perfect for busy people, students, or anyone who wants a quick dessert. You can add different ingredients to make it your own.
Try using different Oreo flavors, milk, and mix-ins. Share your creations on social media or with friends. Your microwave is now your secret for quick desserts. Start making desserts today and see how fun it can be!
FAQ
How long does it take to melt Oreos and milk in the microwave?
It usually takes 30-45 seconds to melt Oreos and milk. But, it depends on your microwave and how many Oreos you use. It’s best to microwave in short 15-second bursts, stirring between each interval to ensure even melting and prevent overheating.
Can I use any type of Oreos for this recipe?
Absolutely! You can use original Oreos, Double Stuf, or even flavored varieties like Mint, Peanut Butter, or Birthday Cake Oreos. Each type will create a slightly different flavor profile, so feel free to experiment and find your favorite combination.
What kind of milk works best for this microwave dessert?
Whole milk works best due to its higher fat content, which creates a creamier texture. However, you can also use 2% milk or even non-dairy alternatives like almond or oat milk. Just keep in mind that the fat content will affect the final consistency of your dessert.
Is this recipe safe for kids to make?
While the recipe is simple, adult supervision is recommended, especially when handling hot containers from the microwave. Children can help with crushing Oreos and measuring ingredients, but an adult should manage the microwaving and handling of hot dishes.
Can I make this dessert ahead of time?
This dessert is best enjoyed immediately after preparation. The texture is most appealing when fresh and warm. If you need to prepare it in advance, you can refrigerate it, but you’ll likely need to reheat and stir to restore its creamy consistency.
Are there any vegan options for this Oreo microwave dessert?
Yes! Use dairy-free Oreos (which are naturally vegan) and substitute the milk with a plant-based alternative like almond, soy, or oat milk. This allows vegans to enjoy this quick and delicious dessert without any animal products.
How can I prevent the Oreos from burning in the microwave?
The key is to microwave in short 15-second intervals, stirring between each burst. This helps distribute heat evenly and prevents hot spots that could burn the Oreos. Always use a microwave-safe container and watch the mixture closely to avoid overheating.
Can I add extra ingredients to my Oreo microwave dessert?
Definitely! Consider adding extras like chocolate chips, a splash of vanilla extract, a dollop of peanut butter, or a sprinkle of cinnamon. You can also top the finished dessert with whipped cream, chocolate sauce, or crushed additional Oreos for extra flavor and texture.


