The BestDessert recipes

Table of Contents
What You’ll Need to Make Birthday Cake Pops
Before you dive into the process of making birthday cake pops, it’s important to gather all the necessary ingredients and tools. Here’s a checklist to ensure you have everything you need.
Ingredients
- Cake Mix or Homemade Cake Recipe: You can use any cake mix of your choice or make a homemade cake if you prefer. For the best results, choose a moist cake flavor like vanilla, chocolate, or even red velvet.
- Frosting: You can either buy pre-made frosting or make your own. The frosting should be thick enough to bind the cake crumbs together, but not too runny.
- Candy Melts or Chocolate Coating: These will be used to coat the cake pops. You can use white, milk, or dark chocolate or even colored candy melts for added flair.
- Lollipop Sticks: These are essential for holding the cake pops while you decorate and serve them.
- Sprinkles or Decorative Toppings (optional): To make your cake pops look festive, add some sprinkles, edible glitter, or small decorative shapes.
Tools
- Mixing Bowl: To combine the cake crumbs with frosting.
- Baking Pan: For baking your cake. You can use any standard round pan.
- Spoon or Cookie Scoop: For evenly portioning the cake pop mixture.
- Microwave-Safe Bowl: For melting your chocolate or candy melts.
- Styrofoam Block or Cake Pop Stand: To hold the cake pops upright while they cool.
Step-by-Step Instructions for Making Birthday Cake Pops
Now that you have everything you need, it’s time to start making your birthday cake pops. Follow these simple steps to create these tasty treats that are sure to be a hit at any party.
Preparing the Cake
- Bake the Cake:
- Start by following the instructions on your cake mix box or using your homemade cake recipe. Bake the cake in a round pan, as it will give you the right shape to form cake balls.
- Allow the cake to cool completely before moving on to the next step. This is an essential step, as a warm cake can cause your cake pop mixture to become too soggy.
- Crumble the Cake:
- Once the cake has cooled, use your hands or a fork to crumble it into small pieces. The pieces should resemble small crumbs, but not too fine. This texture helps the cake pop mixture hold together.
Making the Cake Pop Mixture
- Add the Frosting:
- Now, add your frosting to the cake crumbs. Start with a few tablespoons of frosting and mix well. The goal is to get the mixture moist enough so that you can easily roll it into balls. Add more frosting if necessary, but don’t add too much—it can make the mixture too soft and difficult to shape.
- Mix and Form Balls:
- Once the frosting and cake are well combined, it’s time to shape the mixture into cake pops. Use your hands or a spoon to scoop out small portions and roll them into balls, about 1 to 1.5 inches in diameter. You want them to be small enough to hold on a lollipop stick but big enough to provide a satisfying bite.
Shaping and Decorating the Cake Pops
- Prepare the Sticks:
- Melt a small amount of chocolate or candy melts in a microwave-safe bowl. Dip the tip of each lollipop stick into the melted chocolate before inserting it into the cake ball. This helps the stick stay in place while the cake pops set.
- Insert the Stick:
- Gently insert the lollipop stick into the center of each cake ball, ensuring that the stick doesn’t go all the way through. It should be inserted about halfway into the ball.
- Coat the Cake Pops:
- Next, dip each cake pop into your melted candy melts or chocolate. Swirl the pop gently to ensure it’s fully coated. Tap the stick lightly to let any excess coating drip off. Be careful not to let the cake ball fall off the stick.
- Decorate:
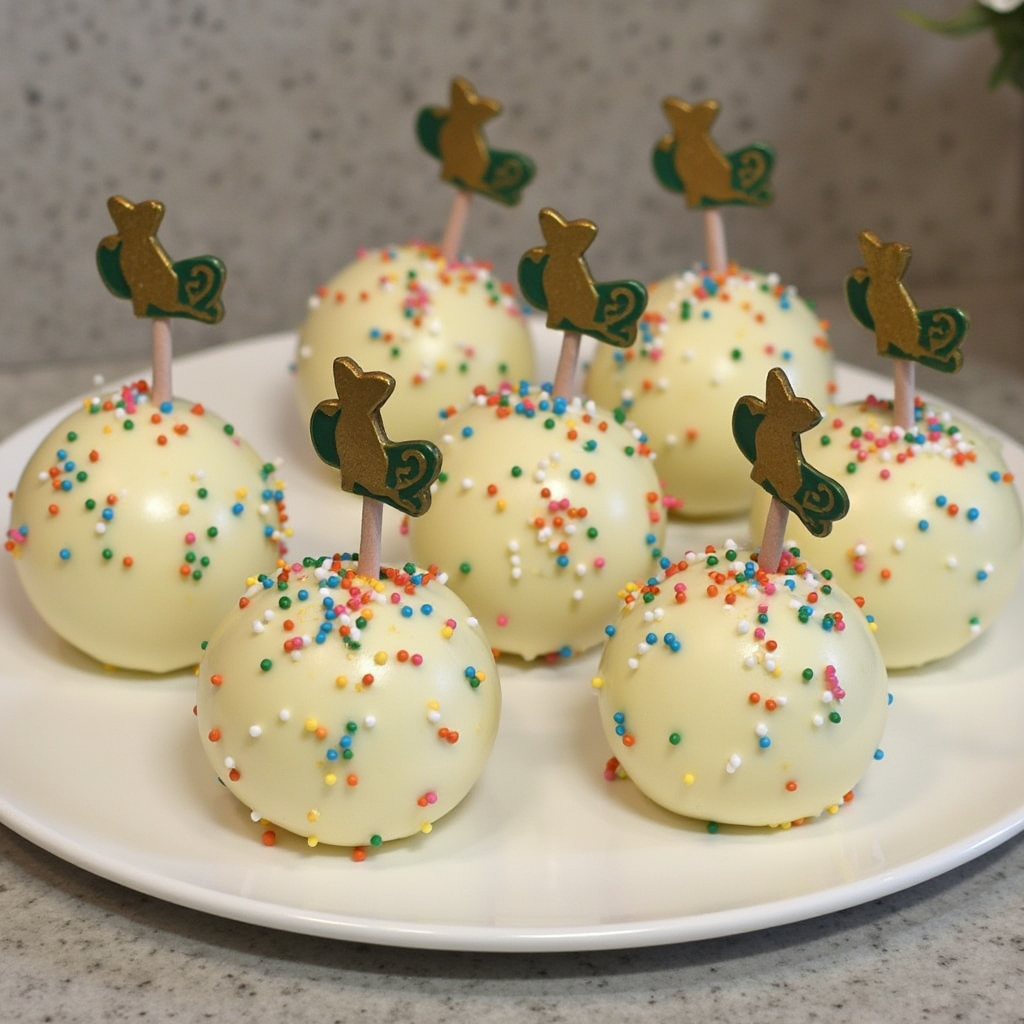
- While the coating is still soft, add your sprinkles or decorative toppings. You can get creative here—use colorful sprinkles, edible glitter, or even small shaped candies to make your cake pops look festive and fun.
- Let the Cake Pops Set:
- Place the cake pops upright in a styrofoam block or a cake pop stand to allow them to cool and harden. This step ensures that they hold their shape and that the coating stays intact.
Tips and Tricks for Perfect Cake Pops Every Time
- Use a Cake Pop Stand: A cake pop stand will keep your pops upright while they cool, preventing them from tipping over and making a mess.
- Don’t Overload on Frosting: Too much frosting can make the mixture too soft, causing your cake pops to fall apart. Use just enough to bind the cake together.
- Don’t Overheat the Chocolate: When melting your candy melts or chocolate, make sure to heat them in short bursts. Overheating can cause them to seize up and become unusable.
- Add Flavor Variations: While birthday cake pops are delicious on their own, you can experiment with different cake and frosting flavors. Try adding a touch of lemon zest, cinnamon, or even flavored extracts to create unique pops.
Frequently Asked Questions (FAQs) About Birthday Cake Pops
Can I Use a Boxed Cake Mix for Cake Pops?
Yes, using a boxed cake mix is perfectly fine and will save you time. Just be sure to bake the cake according to the package directions and let it cool completely before crumbling it.
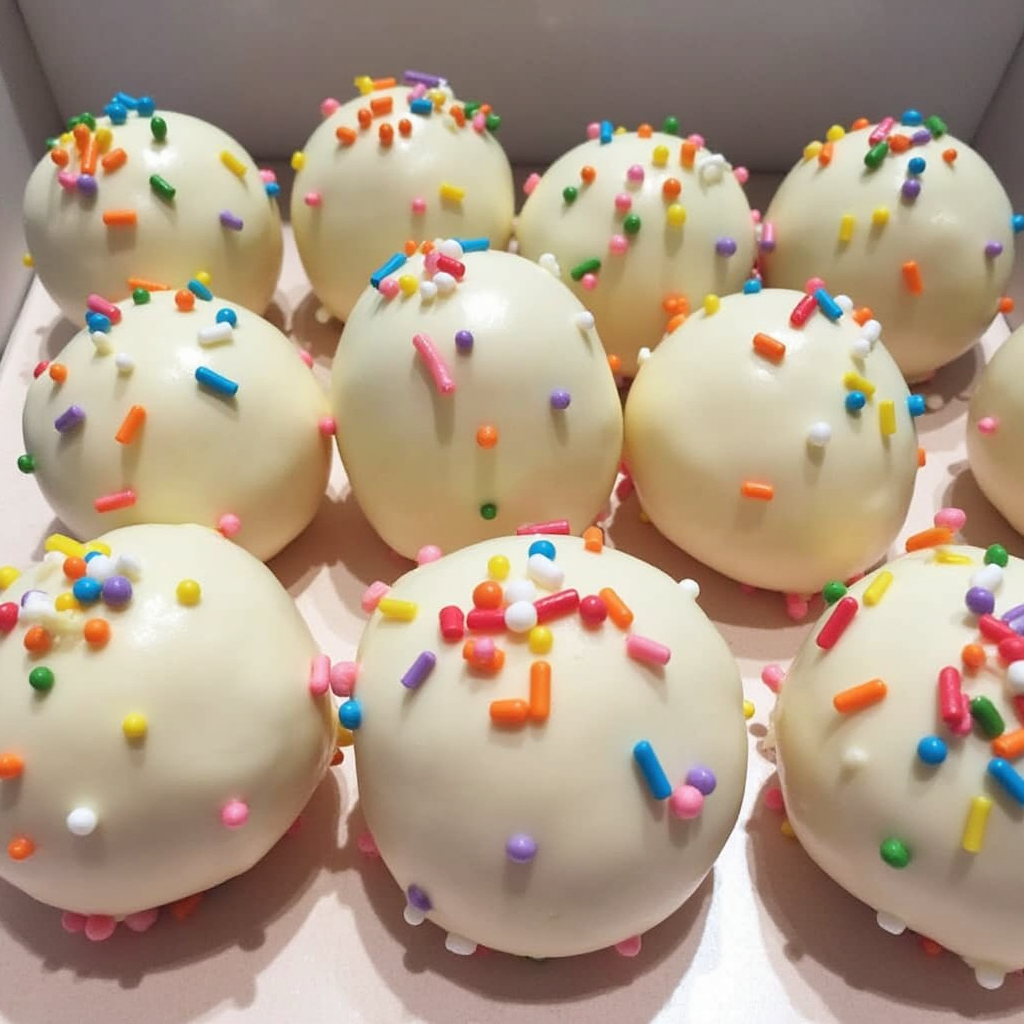
How Do I Store Cake Pops?
Cake pops can be stored in an airtight container at room temperature for up to 3 days. If you want to keep them fresh for longer, store them in the fridge for up to a week.
Can I Make Cake Pops in Advance?
Yes! Cake pops can be made ahead of time and stored in the fridge or freezer. Just make sure they’re fully cooled and stored properly to avoid them getting soggy.
Can I Use Different Flavors for Cake Pops?
Absolutely! Feel free to experiment with different cake flavors. Try chocolate, vanilla, red velvet, or even carrot cake. The frosting and coating can also be customized to match the flavor of the cake.
Conclusion: Celebrate with Delicious Homemade Birthday Cake Pops
Making birthday cake pops at home is an enjoyable and rewarding experience. Not only do they add a personal touch to your celebrations, but they’re also a fun treat to make with your friends or family. By following the steps outlined in this guide, you’ll be able to create beautiful and delicious cake pops that will be the highlight of any event.
So, gather your ingredients, get creative with your decorations, and most importantly—have fun! Whether you’re making them for a birthday party, a holiday, or just because, homemade birthday cake pops are sure to bring smiles to everyone who enjoys them.
Ready to get started? Head to the kitchen, roll up your sleeves, and create some birthday cake pops that will wow your guests!


